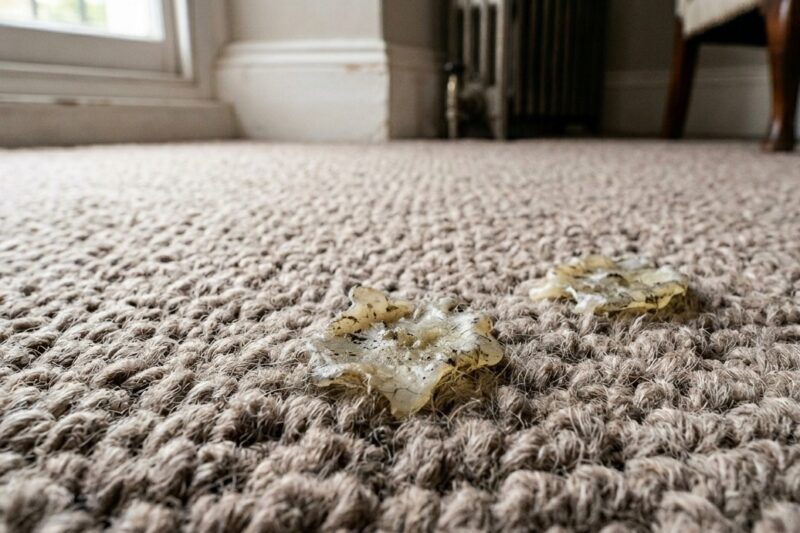
There is a specific kind of carpet that exists only in ex-council flats, and if you … How to Deep Clean Carpets in Ex-Council Flats: Decades of Mystery StainsRead more

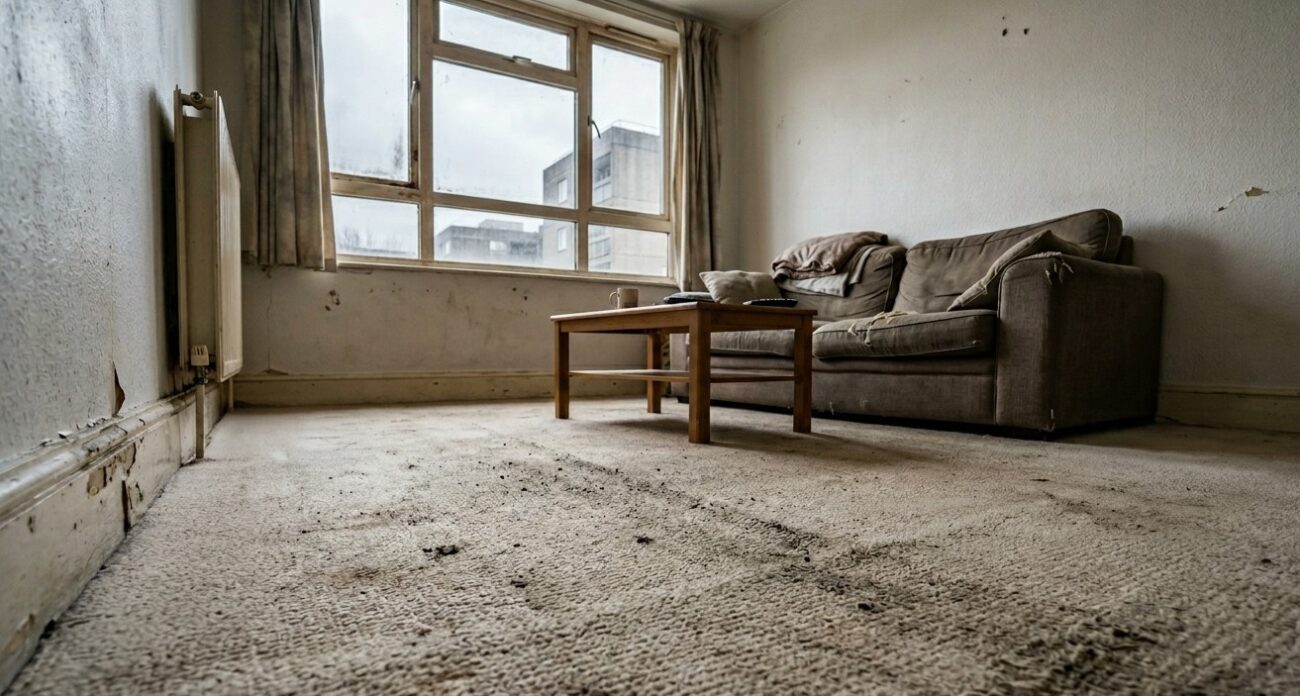
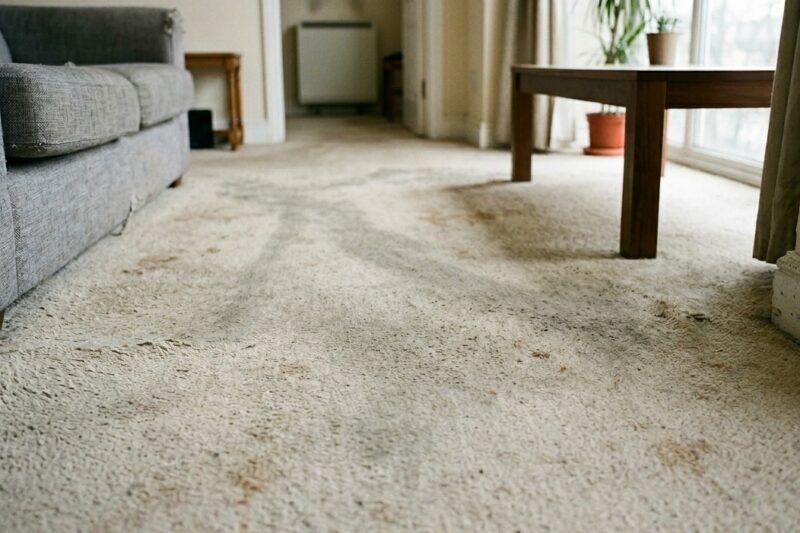
There is a specific kind of carpet that exists only in ex-council flats, and if you … How to Deep Clean Carpets in Ex-Council Flats: Decades of Mystery StainsRead more
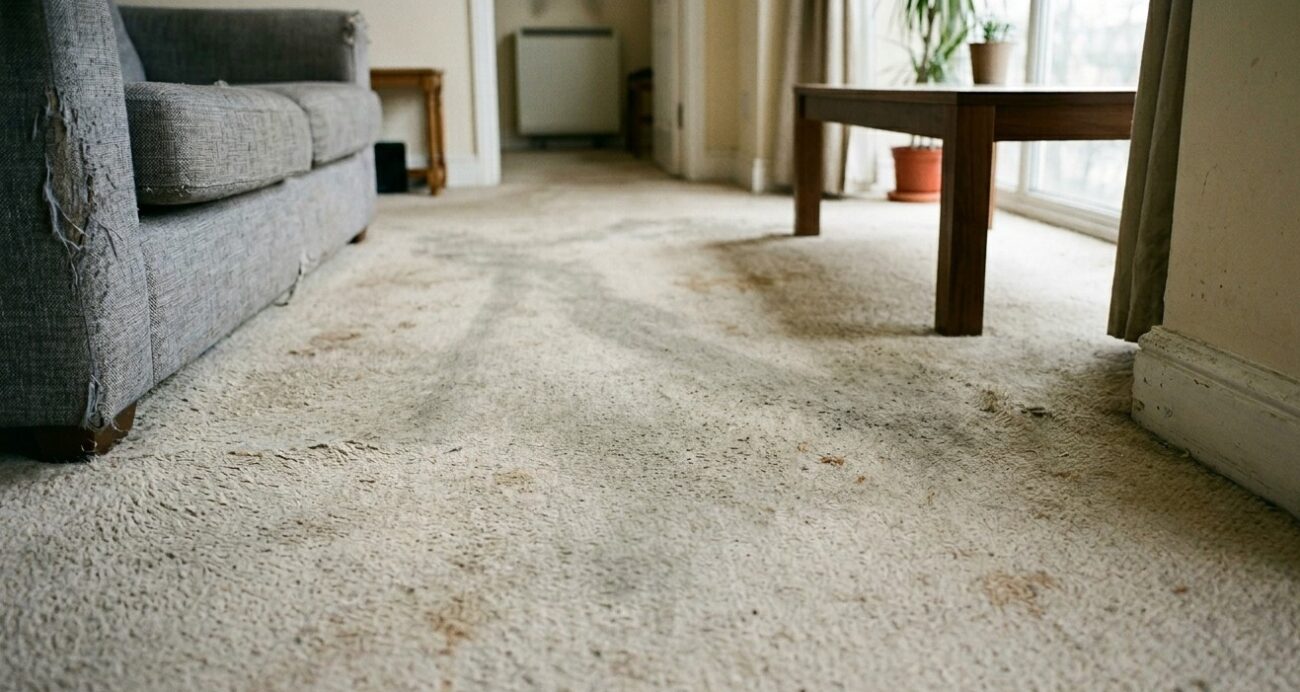
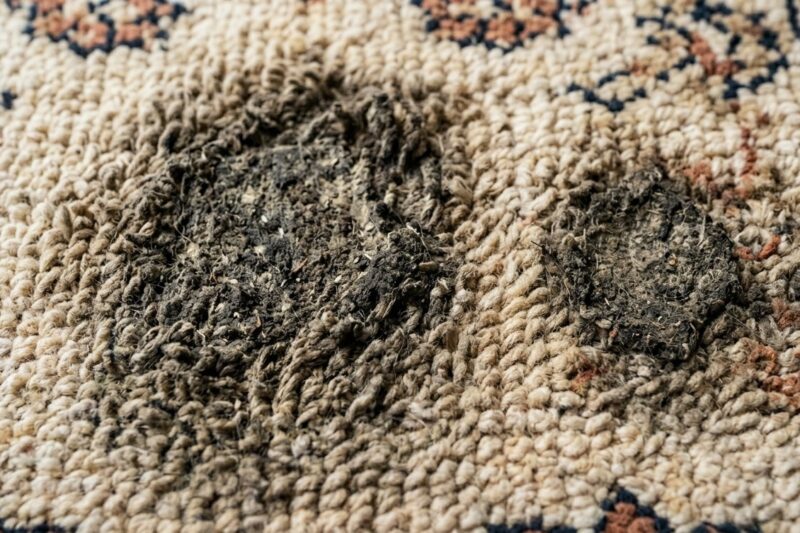
Few phrases in the English language generate as much tension between landlords and tenants as “fair … Rental Property Carpet Cleaning: What’s “Fair Wear and Tear” vs Negligence?Read more
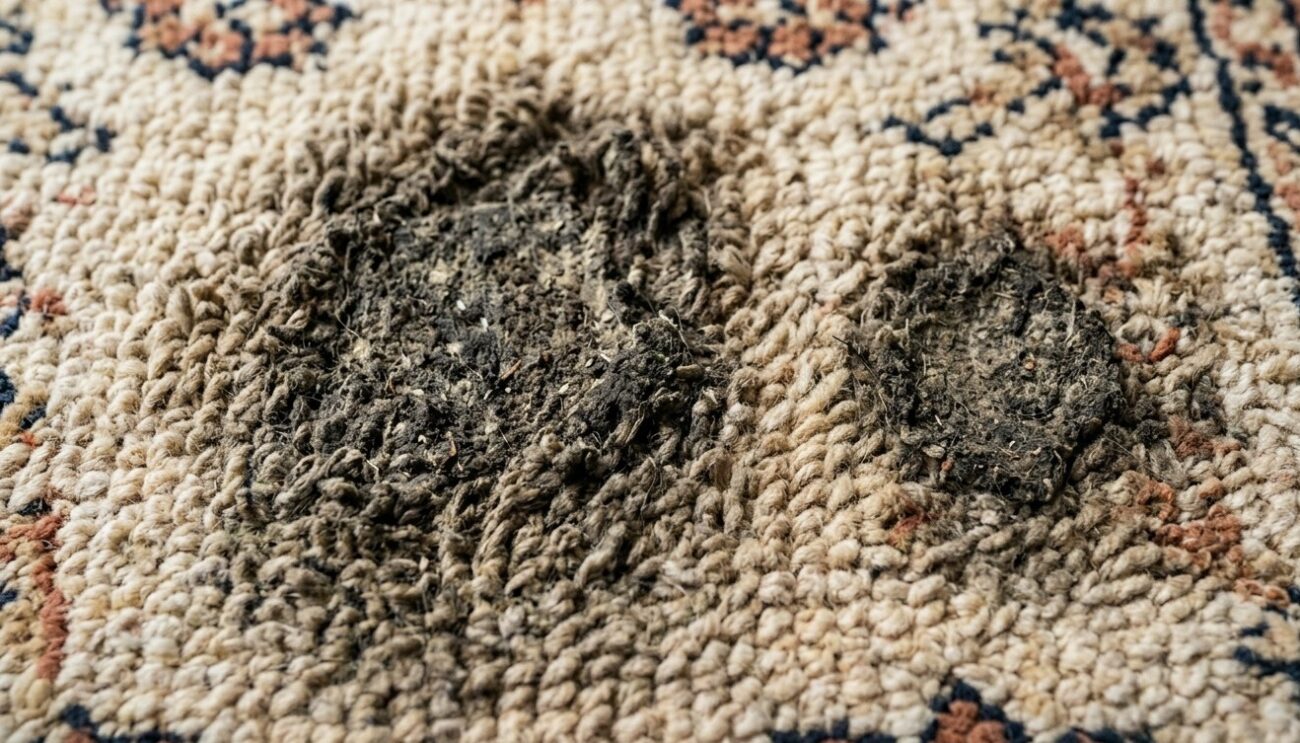
Living near a busy London road comes with a well-understood set of trade-offs. The convenience of … Removing Pollution Stains from Carpets Near Busy London RoadsRead more
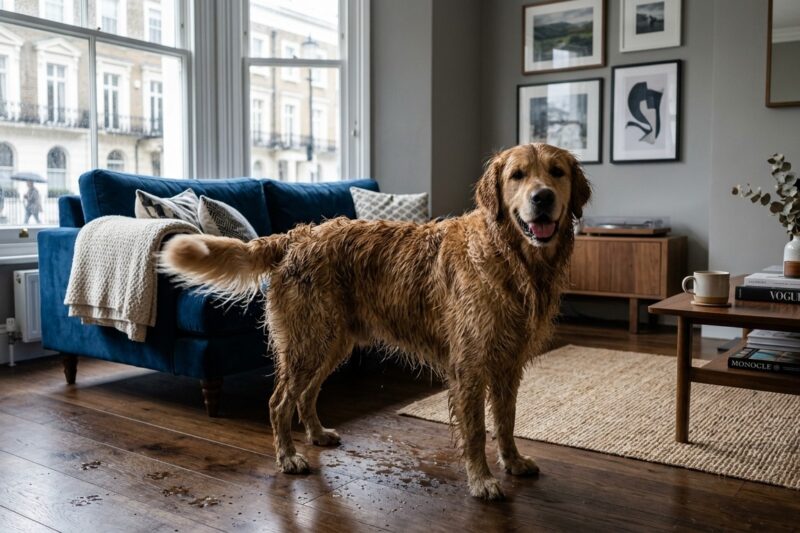
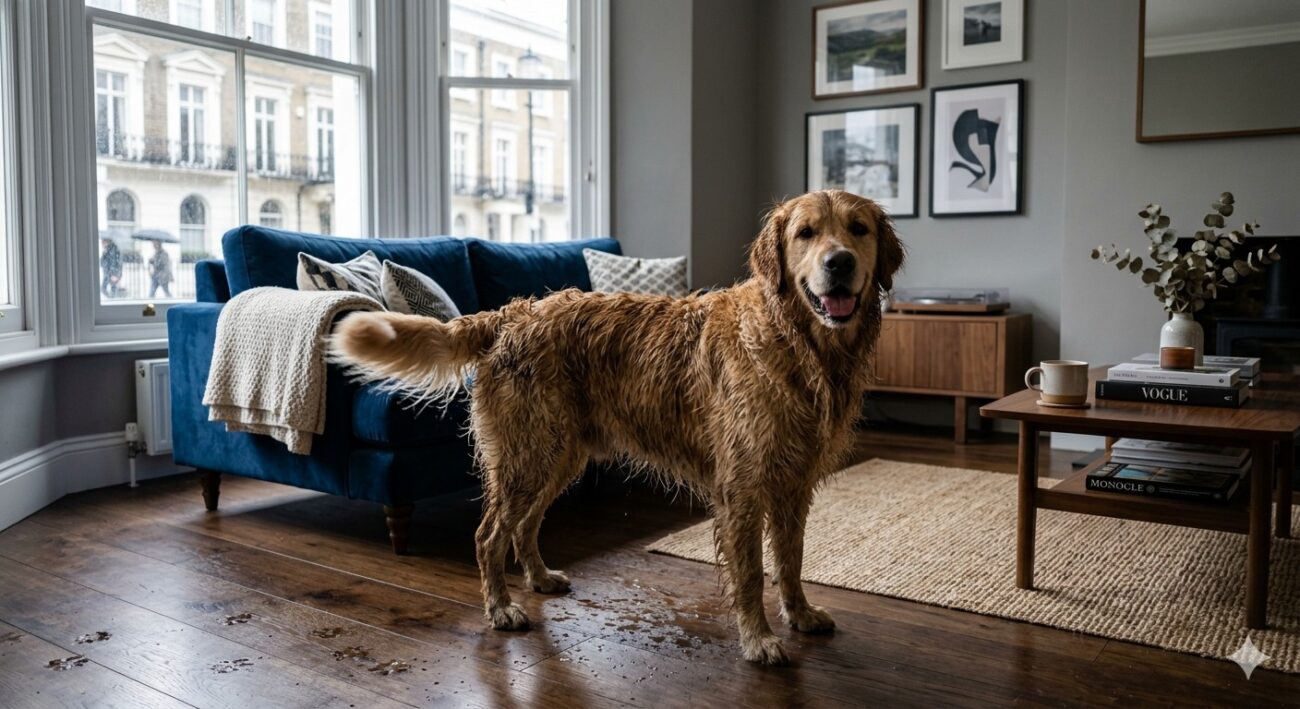
There is a particular sensory experience that every dog owner in Britain knows with uncomfortable intimacy, … Removing the Smell of Wet Dog from Your Living Room CarpetRead more
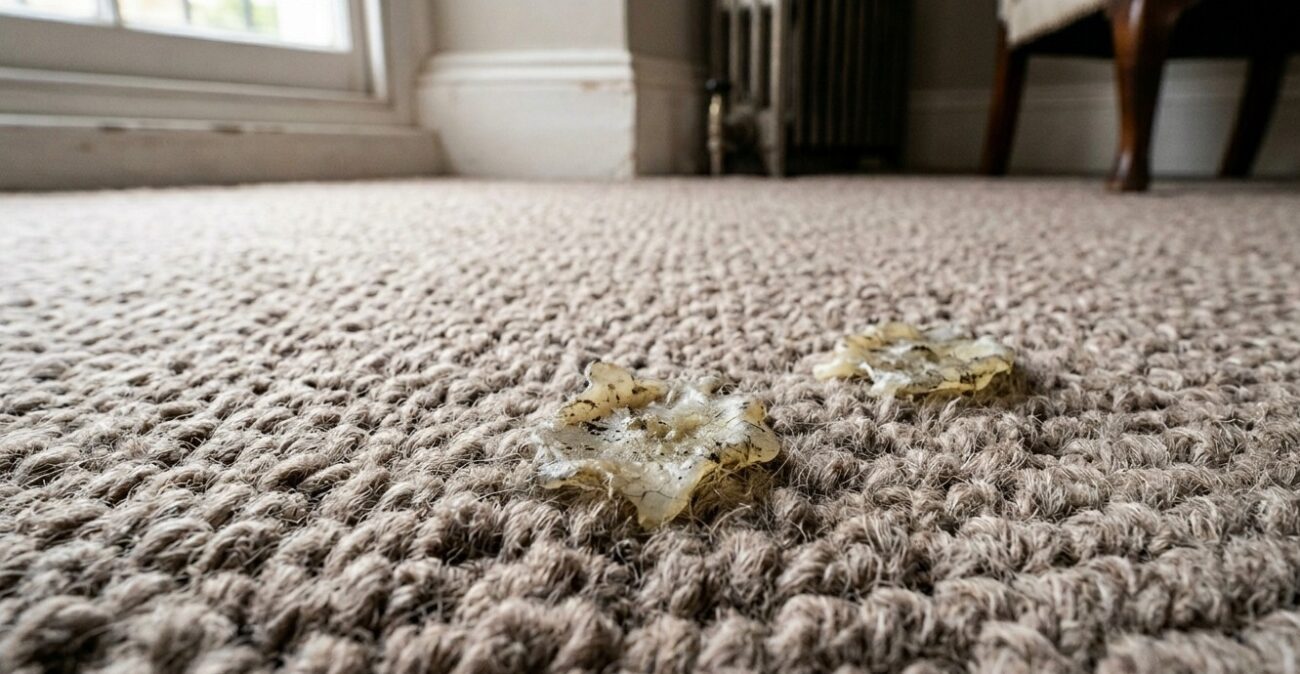
It happens to the best of us. The dinner party is going beautifully, the candles are … How to Remove Candle Wax from Wool Carpets Without a BlowtorchRead more

Nylon carpets are popular for their durability and good looks, but keeping them clean can be … Nylon Carpets: Hot Water Extraction or Low-moisture Cleaning?Read more
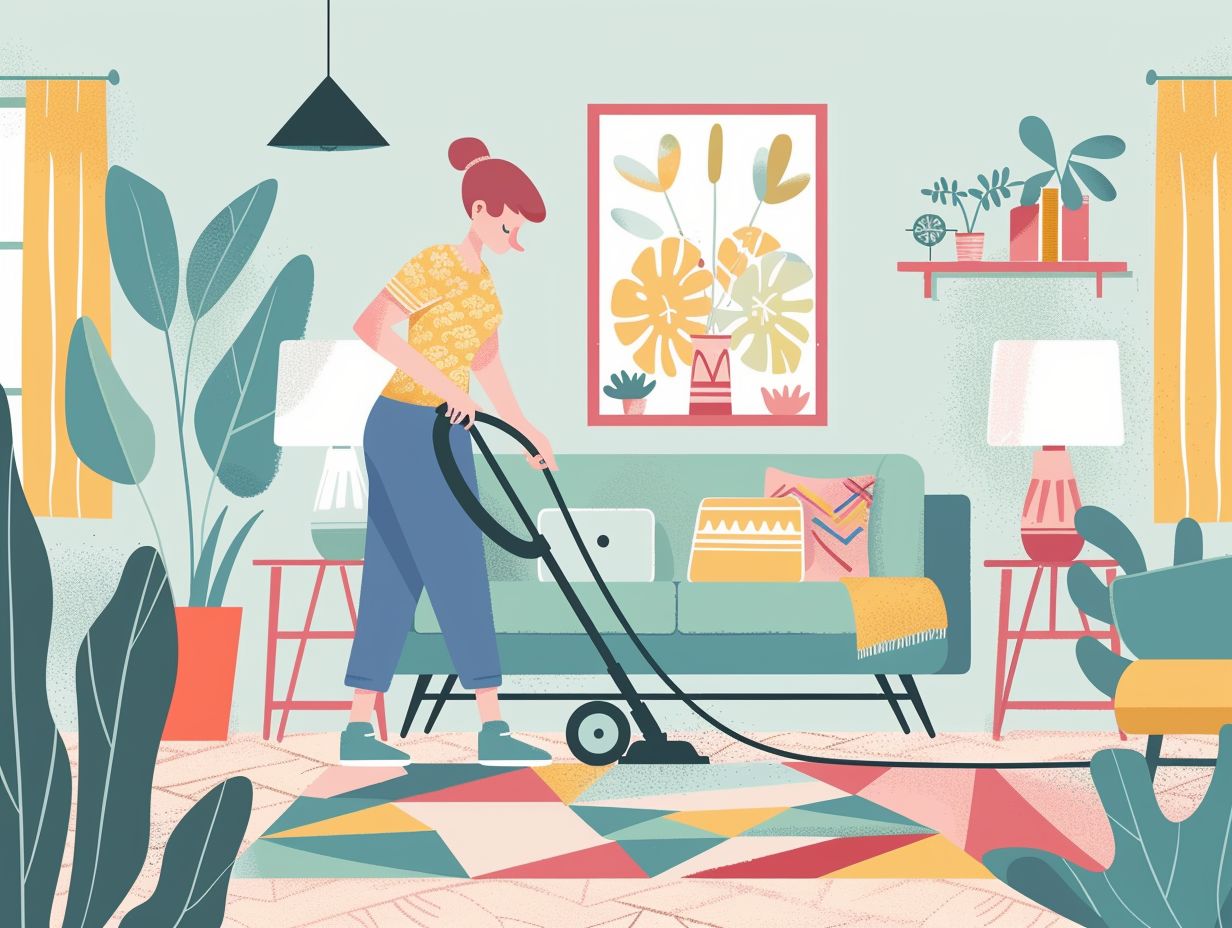
Consider bringing in a professional cleaner to spruce up your carpets. Before they show up, there … How To Prepare Your Carpet for Professional Cleaning: What To Do BeforehandRead more
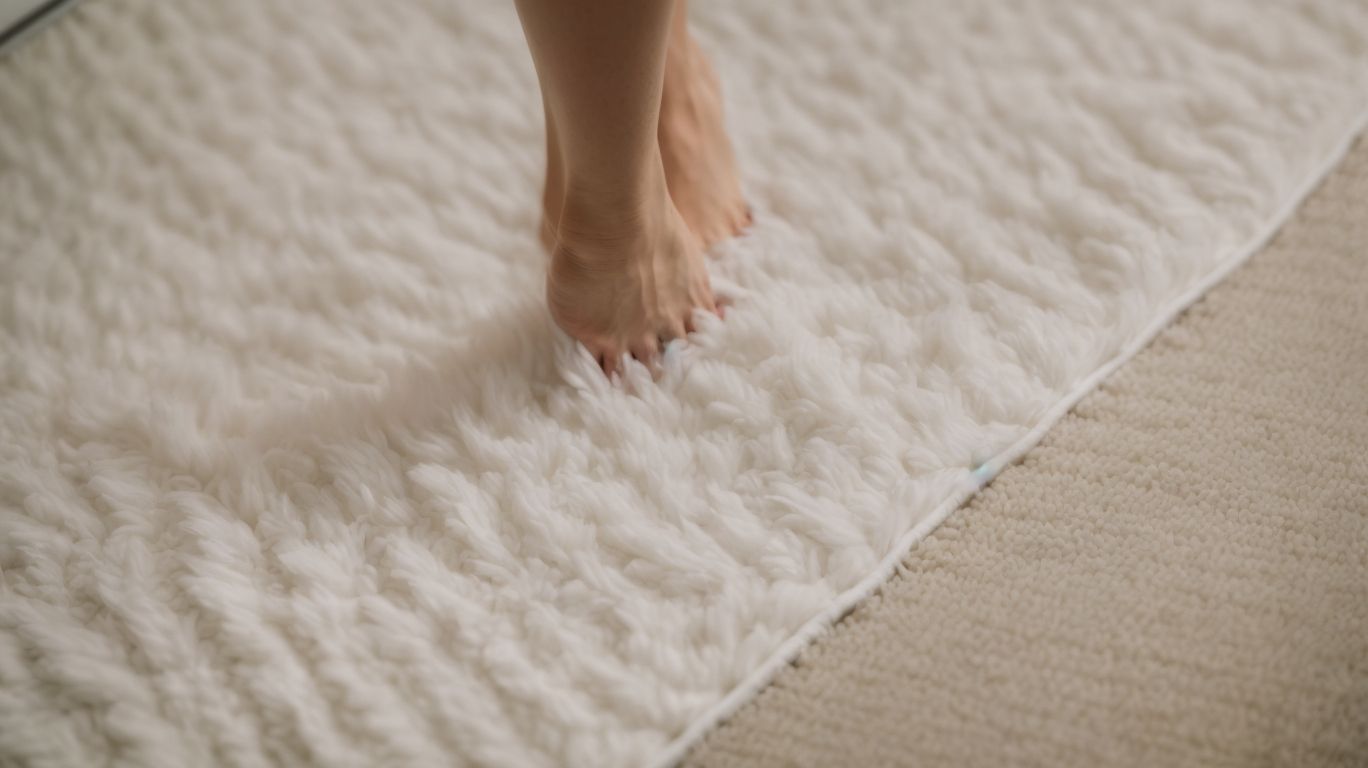
Are these yellow-brownish spots on the bathroom rug the first signs of mould?! Before you go … How To Keep Your Bathroom Rug Mould-freeRead more
Are you tired of stubborn stains ruining the look of your carpets? Discover various DIY stain … DIY vs Professional Stain Removal For CarpetsRead more
Quiet time for playing ideas with colours, shapes, music, toys and a lot of possibilities for … Playtime On The Carpet – Before&After Cleaning Challenge For Every MamRead more